Disclaimer: This article will be updated from time to time to add new content or make any changes in exsisting sections without any notice. Using them under your own investigation in production is advised.
I. Shell
1. Use Map in Bash Shell
| |
2. Three ways to start a command in shell
sh
| |
Default way of running a command in shell, Run commnad in a spawned sub shell process and return to current shell when the command exits,
source
| |
Run command in current shell context rather than in a new shell and return to current shell when commnad exits.
exec
| |
Run commnad in current context replacing current shell with the same PID, which means the execution session will end directly after commnad exits rather than returning to previous shell.
II. iptables
1. Use *iptables to drop a packet in a static rate
| |
-p tcp: apply to tcp packets-m statistic: drop based on statistic--mode nth: choose the mode to drop thenth packet--every n: drop one packet in everynpackets--packet 0: index of which packet to drop. To be exact, the index should start with 0 and be smaller than the parameter--every
2. Use *iptables to drop packets randomly with a specific ratio
| |
--mode random: choose therandommode to drop packets--probability 0.1: 10% probability of dropping packets
II. Operate interfaces in a Linux network namespace
| |
III. iperf3
Use iperf3 for network performance benchmark
Server Side
| |
-s: Server Mode-p: Port-i: Interval to display statistic
Client Side
| |
-c: Client Mode with a specific Server address-p: Port-i: Interval to display statistic-b: Bandwith inbps-n: Number of bytes to transmit (instead of -t)-t: Time in seconds to transmit for (default 10 secs)
IV. SSH
1. Keep connection active on client side
| |
Add this line below to the config file and this configuration will be applied to all connections from this client。
ServerAliveInterval 60
2. Keep connection active on server side
Edit /etc/ssh/sshd_config on the server side to avoid change all configuration on clients.
| |
3. Keep connection active for current connection
Just add the option ServerAliveInterval to the ssh command line.
| |
V. Hardware
- architecture
| |
- kernel
| |
- hardware info
| |
VI. System Maintainance
1. Upgrade Fedora Distro in WSL
WSL is such a great tool for those who wanna utilize both Windows desktop and Linux shell. By using technoloy similar to Docker, WSL runs a special shared Linux kernel inside Windows and launches all sorts of Linux distro containers simultaneously. Since not booted with systemd, an error will erccur when you try to reboot any of these distros, which makes it impossible to perform an system upgrde which often requires an reboot to do so.
| |
Hence we got to override the upgrade process to do the upgrade directly rather than during boot process. This is how I mananged to upgrade Fedora from 34 to 35 in WSL.
| |
2. Ftp service quick deploy with vsftpd
Prerequisite
- Aquire root privilleges, switch to
rootif you’re usingec2-userby1sudo -i - Get
firewalld&selinuxdisabled - Accesible address of this EC2 instance, like a public IP on internet or an internal address inside a VPC.
Install vsftpd as service
| |
Config vsftpd
Modify vsftpd conf file by vi /etc/vsftpd/vsftpd.conf, change the following parts of the conf file only
...
# Allow anonymous FTP? (Beware - allowed by default if you comment this out).
anonymous_enable=NO
#
# Uncomment this to allow local users to log in.
# When SELinux is enforcing check for SE bool ftp_home_dir
local_enable=YES
#
# Uncomment this to enable any form of FTP write command.
write_enable=YES

....
#
# You may specify an explicit list of local users to chroot() to their home
# directory. If chroot_local_user is YES, then this list becomes a list of
# users to NOT chroot().
# (Warning! chroot'ing can be very dangerous. If using chroot, make sure that
# the user does not have write access to the top level directory within the
# chroot)
chroot_local_user=YES
chroot_list_enable=YES
# (default follows)
chroot_list_file=/etc/vsftpd/chroot_list

# Add this variable if not present
allow_writeable_chroot=YES

...
# Passive mode config, add this part if it's not found in template
pasv_enable=YES
pasv_min_port=1024
pasv_max_port=1048
pasv_address=<<REPLACE WITH YOUR ACCESSIBLE ADDRESS>>
Config SercurityGroup (Optional)
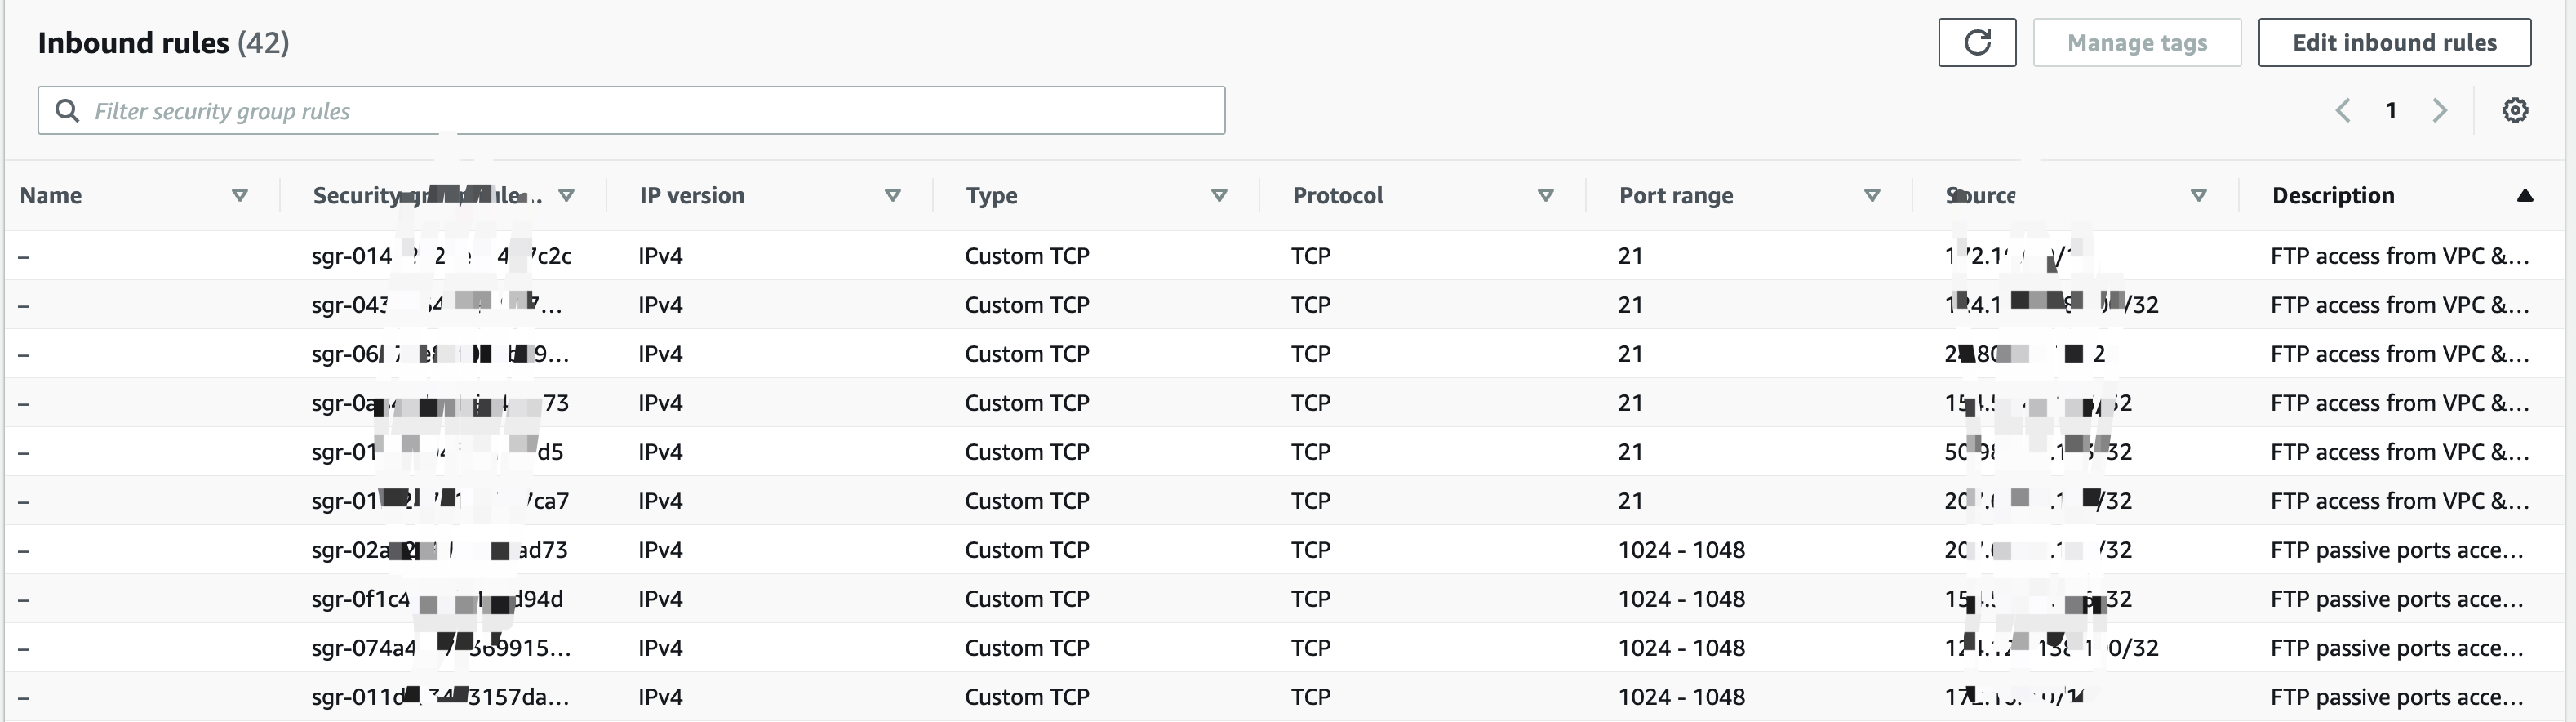
If your host is in AWS VPC you may have to config your SercurityGroup to let go ftp access. Since port 21 and passive ports from 1024 to 1048 are used, it’s crutial to allow these access in Security Groups from your expected client addresses. Adding them on AWS console or by terraform, either way is OK.
Config ftp user
Add chroot list file
| |
Add ftp user, say ftpuser is the username and /var/lib/vsftpd is its home directory
| |
Start Server & Test
| |
Access this ftp server using clients like filezilla: